

|
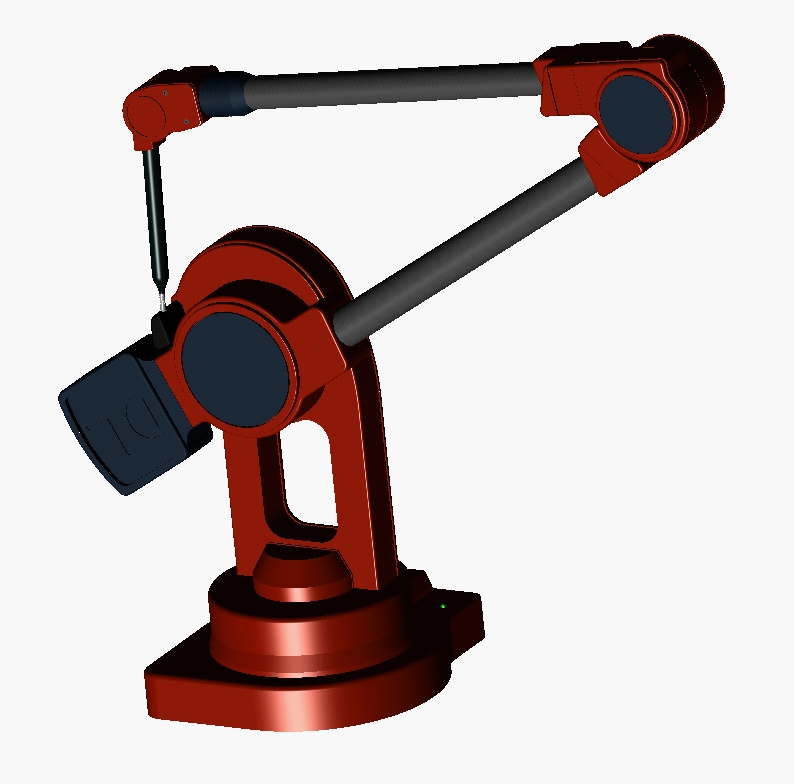
Connecting the MicroScribe
Perform the following to connect the MicroScribe to your workstation:
- Unpack MicroScribe and all cables.
- Power cable and adapter.
- Appropriate serial cable.
- Nine pin, D-type
- PS-2 type
- Foot pedal.
- ENSURE POWER SWITCH IS OFF AND SCRIBE IS IN ITS
HOME POSITION PRIOR TO PROCEEDING.
- Connect power cable to 5V DC IN jack.
- Connect Serial cable to SERIAL jack and to
Serial Port 1 or 2 on your PC.
- Connect foot pedal to ACCESSORY jack.
- Position the MicroScibe on a solid surface and central
to your work.
Configuring the MicroScribe
Perform the following to configure the MicroScribe for use:
- Create a subdirectory of the root directory named
pro_scribe.
- Windows95:
- Start | Programs | Windows Explorer
- Pick on C: in the directory tree
- File | New | Folder
- Type in pro_scribe
- Windows3.1:
- Main | File Manager
- File | Create Directory
- Type in pro_scribe
- Download the following files to the pro_scribe directory
then unzip them:
Follow these steps to download and unzip the above files:
- Pick link.
- When window opens, select the pro_scribe directory.
- From the File Manager or Windows Explorer, double-click
on the file you just saved. This should start a self-extractor
program which will uncompress the files.
- This should leave you with an Inscribe32 or
Inscribe16 file in your pro_scribe directory.
Configuring Windows Software
- Turn the Power Switch to On.
- Change to the pro_scribe directory.
- Start the MicroScribe software by double-clicking the Inscribexx.exe file.
- When the MicroScribe Port and Baud window opens, set the following:
- Baud Rate: 9600
- Port: 1 or 2
- Set the origin by performing the following:
- Select the appropriate Windows program from the list.
You are now ready to create your data.
|